


Introduction
Installing a garage door opener isn’t just about convenience—it’s also about improving home security and functionality. While DIY kits exist, professional installation ensures a smooth, safe, and long-lasting setup. A qualified technician brings the tools, knowledge, and experience to get the job done right the first time. Knowing what to expect can ease any concerns and help you prepare your space ahead of time. From arrival to final testing, each step is part of a well-defined process. Here’s a detailed breakdown of what happens during professional garage door opener installation in Ogden, UT.
What to Expect from Garage Door Opener Installation
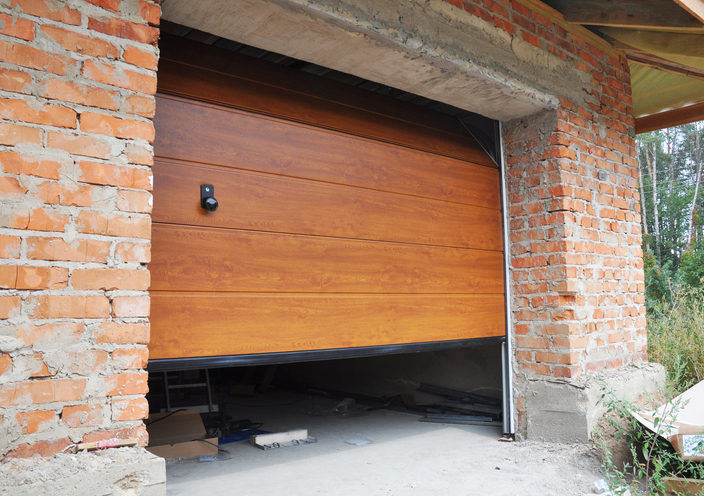
1. Initial Inspection and Setup:
The technician begins by inspecting your garage door, its balance, and the current condition of the tracks and hardware. They check for issues like worn springs or misalignment that could interfere with the new opener. Next, they ensure your chosen opener model is compatible with your garage door. If upgrades or repairs are needed before installation, they’ll recommend completing them first. Once the area is clear and safe, they organize tools and equipment for a clean, efficient setup.
2. Mounting the Opener Unit:
The main motor unit is installed on the ceiling or wall, depending on the type of opener. The technician ensures it’s securely mounted and properly aligned with the garage door center. They also install a support bracket to handle the weight of the unit and reduce vibrations. Accurate positioning is crucial for smooth operation and long-term durability. This step lays the foundation for the opener’s functionality and performance.
3. Installing the Drive Mechanism and Rail:
Next, the rail or drive system—belt, chain, or screw—is attached from the motor unit to the front wall above the garage door. This mechanism allows the door to open and close. The technician assembles and secures the rail while ensuring it’s level and correctly aligned. The trolley, which moves along the rail to pull or push the door, is connected during this phase. This part must be installed with precision to ensure noise reduction and proper movement.
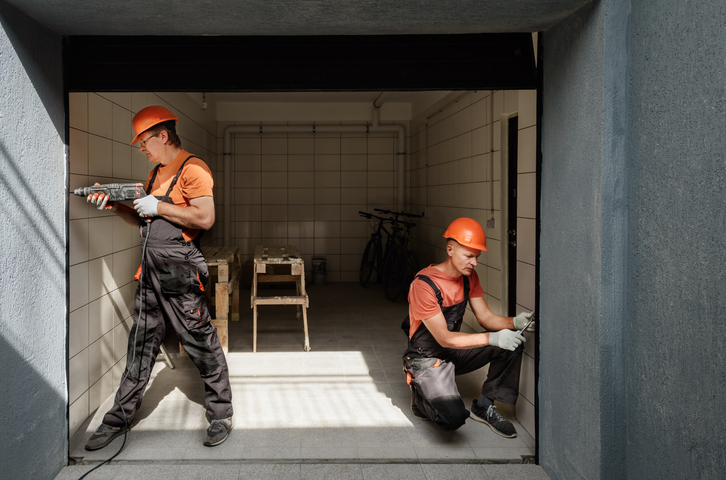
4. Electrical Wiring and Safety Features:
The opener is wired to a nearby power outlet, and safety components like sensors and emergency release cords are installed. Photo-eye sensors are positioned near the bottom of the door tracks to detect obstructions. The installer makes sure wires are neatly arranged and safe from interference. They’ll also set up any control panels or wireless remotes. Safety testing is a key part of this phase before proceeding.
5. Final Testing and User Demonstration:
Once installation is complete, the technician tests the system to confirm it opens and closes smoothly. They check the force settings, limit switches, and sensor responsiveness. Adjustments are made if needed to fine-tune performance. Finally, the technician walks you through how to operate the opener, program remotes, and use the safety features. They may also offer tips on maintenance and what to watch for over time.
Professional door opener installation is a thorough process that ensures reliability, safety, and optimal performance. From the initial check to the final demonstration, every step is designed to give you peace of mind. A professional handles all the technical details so you don’t have to worry about future malfunctions. You’ll end up with a dependable system that enhances your home’s convenience and security. Likewise, trusting experts for the garage door installation in Clearfield, UT, means a smoother experience from start to finish.
Conclusion
Consider upgrading your garage with a new opener. Schedule your professional installation with us at Pioneer Overhead Door and enjoy seamless service, expert setup, and long-term reliability you can count on. Call us at (801) 627-3667 today!
📌 From fast fixes to full installs, Pioneer Overhead Door has your garage covered with quality and care.

 Bountiful